

I decided to go for them, only to find out they were in some weird warehouse that only had hours while I was at work. MIL to the rescue! She went and got them and brought them home for me, where they sat in my living room for longer than I care to admit waiting for a makeover. The idea of recovering the fabric was pretty overwhelming to me, but then I started stumbling across so many upholstery painting tutorials on the internets that I decided it was meant to be.
Planning for Keely's baby shower this weekend was enough for me to bite the bullet on getting these done, so I got my supplies in order and started the project. I rented a rug doctor (or the Bissel equivalent, whatevs) from my local Lowe's, and cleaned as much of the grime off of the chairs as I could, then got to work painting.
While the links above will give you plenty of info on how to make this happen, here's how I did it:
Supplies:
1 quart Valspar paint (which is apparently actually acrylic based)
Fabric Medium (I used 3 containers of the Martha Stewart Brand one)
Spray Bottle for water
Paint brush (love my 2" angled brush with a short handle, the Wooster Shortcut is a great one)
Method:
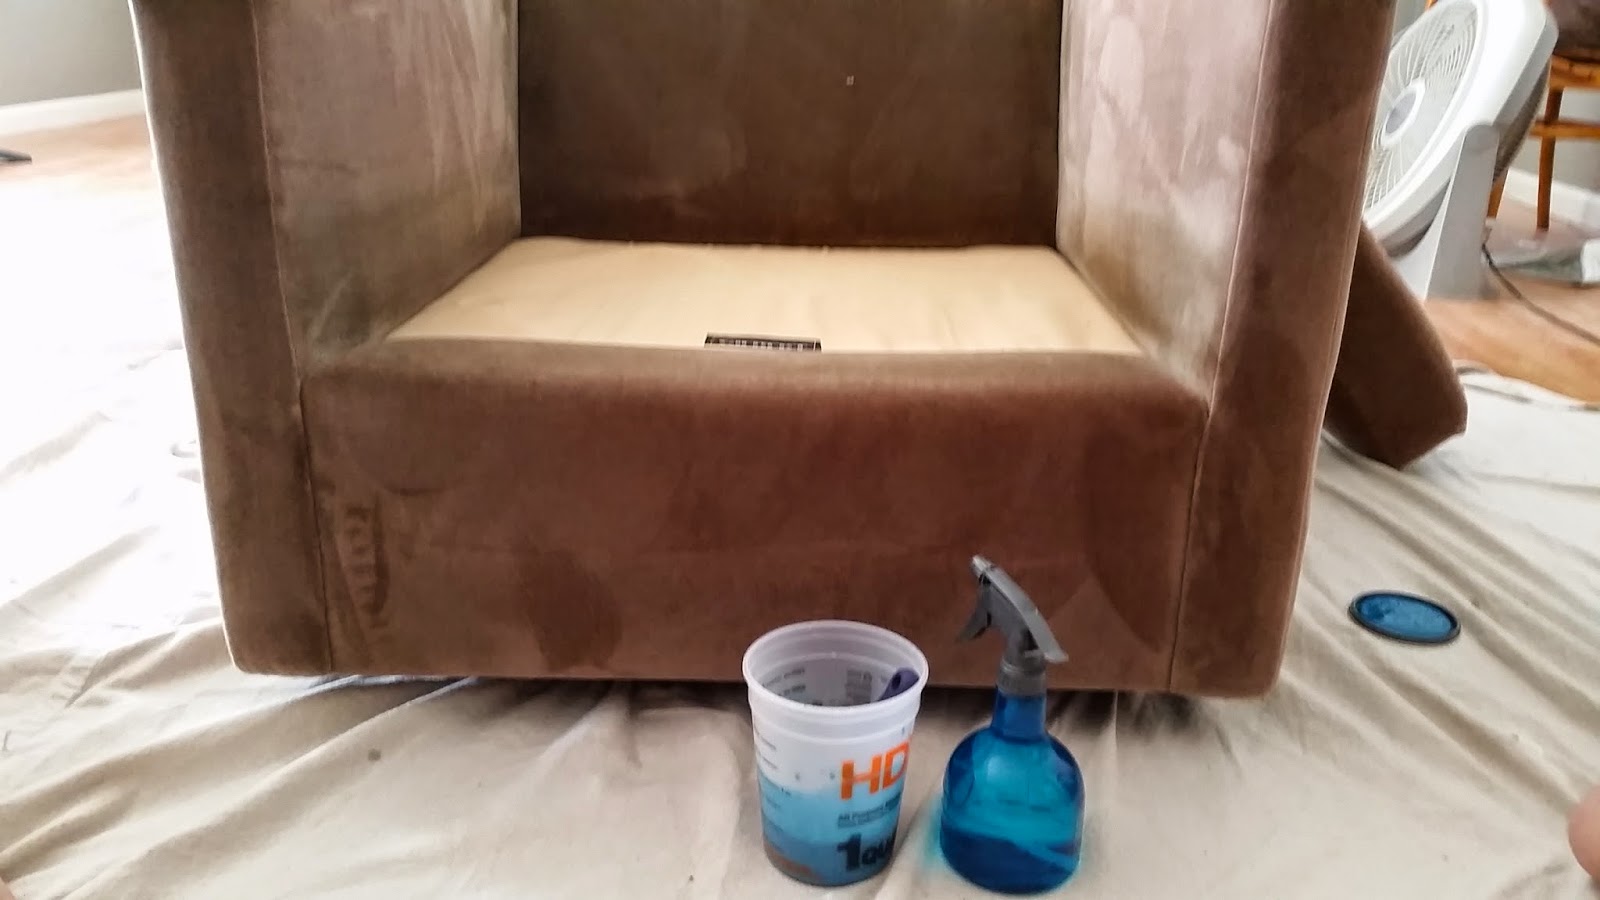
In one of the measuring paint cup things from Home Depot, I mixed a 1:1 ratio of paint and fabric medium. Then, in the smaller measuring cup pictured, I mixed a 1:1 ratio of the paint/fabric medium mixture and water. In retrospect, it wasn't necessary to do this in a separate container, but I was worried about getting the consistency right and didn't want to mix too much at once.

The mixture should look thin and watery, kind of like a stain.
Spray a section of the fabric with water until it's slightly damp, then use your brush to paint on a thin layer of your paint/fabric medium/water mixture. Keep working in sections until you've done one coat of paint.


After a few hours (or overnight) of dry time, sand down any rough spots and repeat for second coat.
Here are my chairs after two coats of paint:

 Meanwhile, I'd decided that painting the cushions was going to be too fiddly for my tastes, and tried using RIT dye to make them a coordinating color. I wanted dark gray with some blue undertones, so I mixed together a bottle of Pearl Gray, Teal, and about half a bottle of black dye with hot water in a large (clean, I bought it specifically for this purpose) trash can inside my bathtub.
After succeeding in getting dye EVERYWHERE (my tub, feet, legs, and fingertips might be permanently stained, I'll spare you the pics), I wrung out as much liquid as I could from the cushion covers and stuck them in my washing machine for a few cold rinse cycles.
When I pulled them out....womp womp. They were very slightly darker than they were originally, and that's just because they were wet. Learn from my mistakes. Don't try to dye synthetic fabrics. -.-
For the third coat of paint, most of the tutorials say to use a thicker mixture - a 1:1 ratio of paint and fabric medium, and a much smaller amount of water. I tried this method, but didn't really like how it was applying, so I ended up watering it down as much as the first two coats with good results.
Here's the "done for now" pic, three coats of paint and sort of dyed cushions:

I decided to leave the cushions as-is for now. I don't think I want to paint them, the fabric on the body of the chairs is definitely significantly stiffer (kind of like a slightly rough canvas), and I don't think that's what I would like for the cushions. I'm thinking down the line I may try to sew new covers for them - I love this fabric and think it would pair nicely with the teal.
I'd also like to add tapered legs once I save up for them - they'll end up being around $40 for the legs & attachment plates. I'm keeping an eye on these at Lowes, which I think will work really well after seeing this post at Design*Sponge.
I love how these came out!
ReplyDelete